On today’s 2Shapes Scope entry, we cover an interesting post in the Shopify Blog by Jeff Delacruz -Products On White Photography CEO- which acts as a helpful guide to DIY product photography.
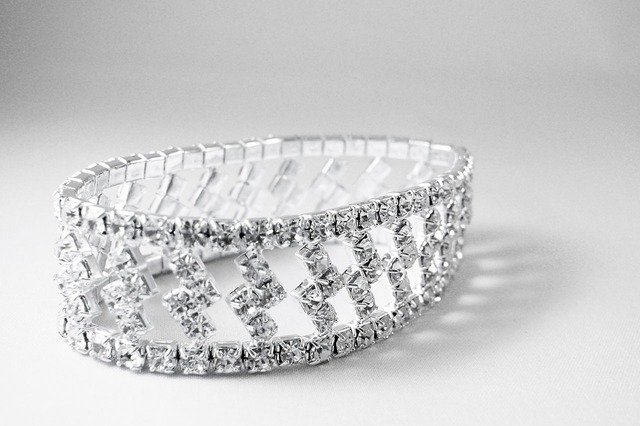
Images are key to purvey expectations. In the eCommerce world, images and videos are all you got to show your products to customers, so it makes sense to invest as much in your product images as you do for your storefront.

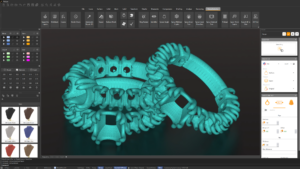
Visitors will often judge your brand based on the visual quality of your website and products. That’s why we automatically render all your designs in 4K resolution and use the mighty 2Shapes Render engine. But what about products that are not 3D models and can’t be rendered? Yes, products require photography.
Worry not, though, as 2Shapes is always here to back you up with useful advice. You don’t need crazy gear to achieve great results in photography, even spending less than $20 if you already have a camera.
Here you have a quick, simple, and affordable setup that will produce amazing results:
- Camera:
Use whatever you have, your old Canon G10 you purchased for that one travel, or even your smartphone! - Tripod:
Important to make sure you are always shooting photos from the same angle and distance and achieve a uniform look. - White background:
Or any other color will become the background of your photo. It’s worth looking into your local drugstore and seeing if they have a poster board. - White foam board:
To lighten shadows, people often place white foam boards on the side of their setup, so light bounces in and softens the shades of your product. - Table:
A table is great to standardize where you want to place your setup and take photos, so the distance to the window stays the same. - Tape:
Fix the position of your white background and foam board, and always have the same lighting level. - The right room: Probably the most important. You will need windows for the most simple of setups; the bigger the window, the more natural light you will cast in.
Once you have these elements, you can now start following this guide and shoot some photos:
- Set up the scene:
Your first step should be to build the scene, with the background on the table and your camera attached to the tripod, set to the appropriate height and angle. - Achieve a suitable sweep: Then, you should place the background against a wall (or something that can hold it), making a softly curved tilt from the floor and transitioning to a wall. It should resemble a slope.
- Configure your camera: All cameras are different, but you should try to set the following parameters:
– Set white balance to auto.
– Turn the flash off.
– Set the image quality to the highest possible (RAW if your camera has it). - Place your product:
Now you should position your product in a way that highlights its great characteristics. - Put down the foam board:
The next object on the scene is the foam that will ease the shadows. Move it slowly and observe how it interacts from the shot’s perspective. - Shoot and analyze:
Finally, once the scene and objects are properly placed, take the picture and evaluate if it meets your expectations.
Congratulations! You now have a beautiful product photo and a setup to take as many more as you want!
Optionally, you could now send these pictures to a professional and make them retouch the image to remove imperfections or the background as a whole. Or even retouch it yourself if you have experience with image editing.
Want to discover what 2Shapes can do for you? Schedule a 1-to-1 session with our specialists to know how you can jump-start your business as soon as possible.